1. What paper should I use?
If you already have a Filofax hole punch, patience, and some kind of craft knife or guillotine, then you can use any A4 or office paper (or even coloured craft paper) to make your Filofax pages. As mentioned you do need a lot of patience if you're printing a whole diary.
I opted for buying a budget value pack of 100 sheets of plain personal sized paper which is pre-punched. The paper has a nice silky feel to it so your inserts will have a super nice quality to them. You can buy them here (http://www.amazon.co.uk/gp/product/B0013NFSLY/ref=oh_details_o01_s00_i00) and obviously they're pre-cut to size so that saves a few more hours/days of precious time.
2. Setting up your template on MS Word
I used MS Word to set up my template. It was very easy, although I'm quite used to messing around with MS Word. All you need to do is follow these steps:
2a) Page Size: Go to Page Layout > Size > Custom (or more paper sizes) > set the page width to 9.5cm and the height to 17.1cm. This is the size for personal. To find other sizes just pop onto the Filofax website.
2b) Margins: Go to Page Layout > Margins > Custom Margins > Set the top and bottom margins to 0.6cm each, or the minimum it will let you. Set the side of the paper you are putting holes on, to 1.5cm, and set the opposite side (with no holes) to the minimum it will let you.
2c) Orientation: Portrait. I've found my printer doesn't like printing on the pages landscape, but yours might be different.
If you're struggling setting up your own template, go onto the Philofaxy Files page and you will find some really useful ones there.
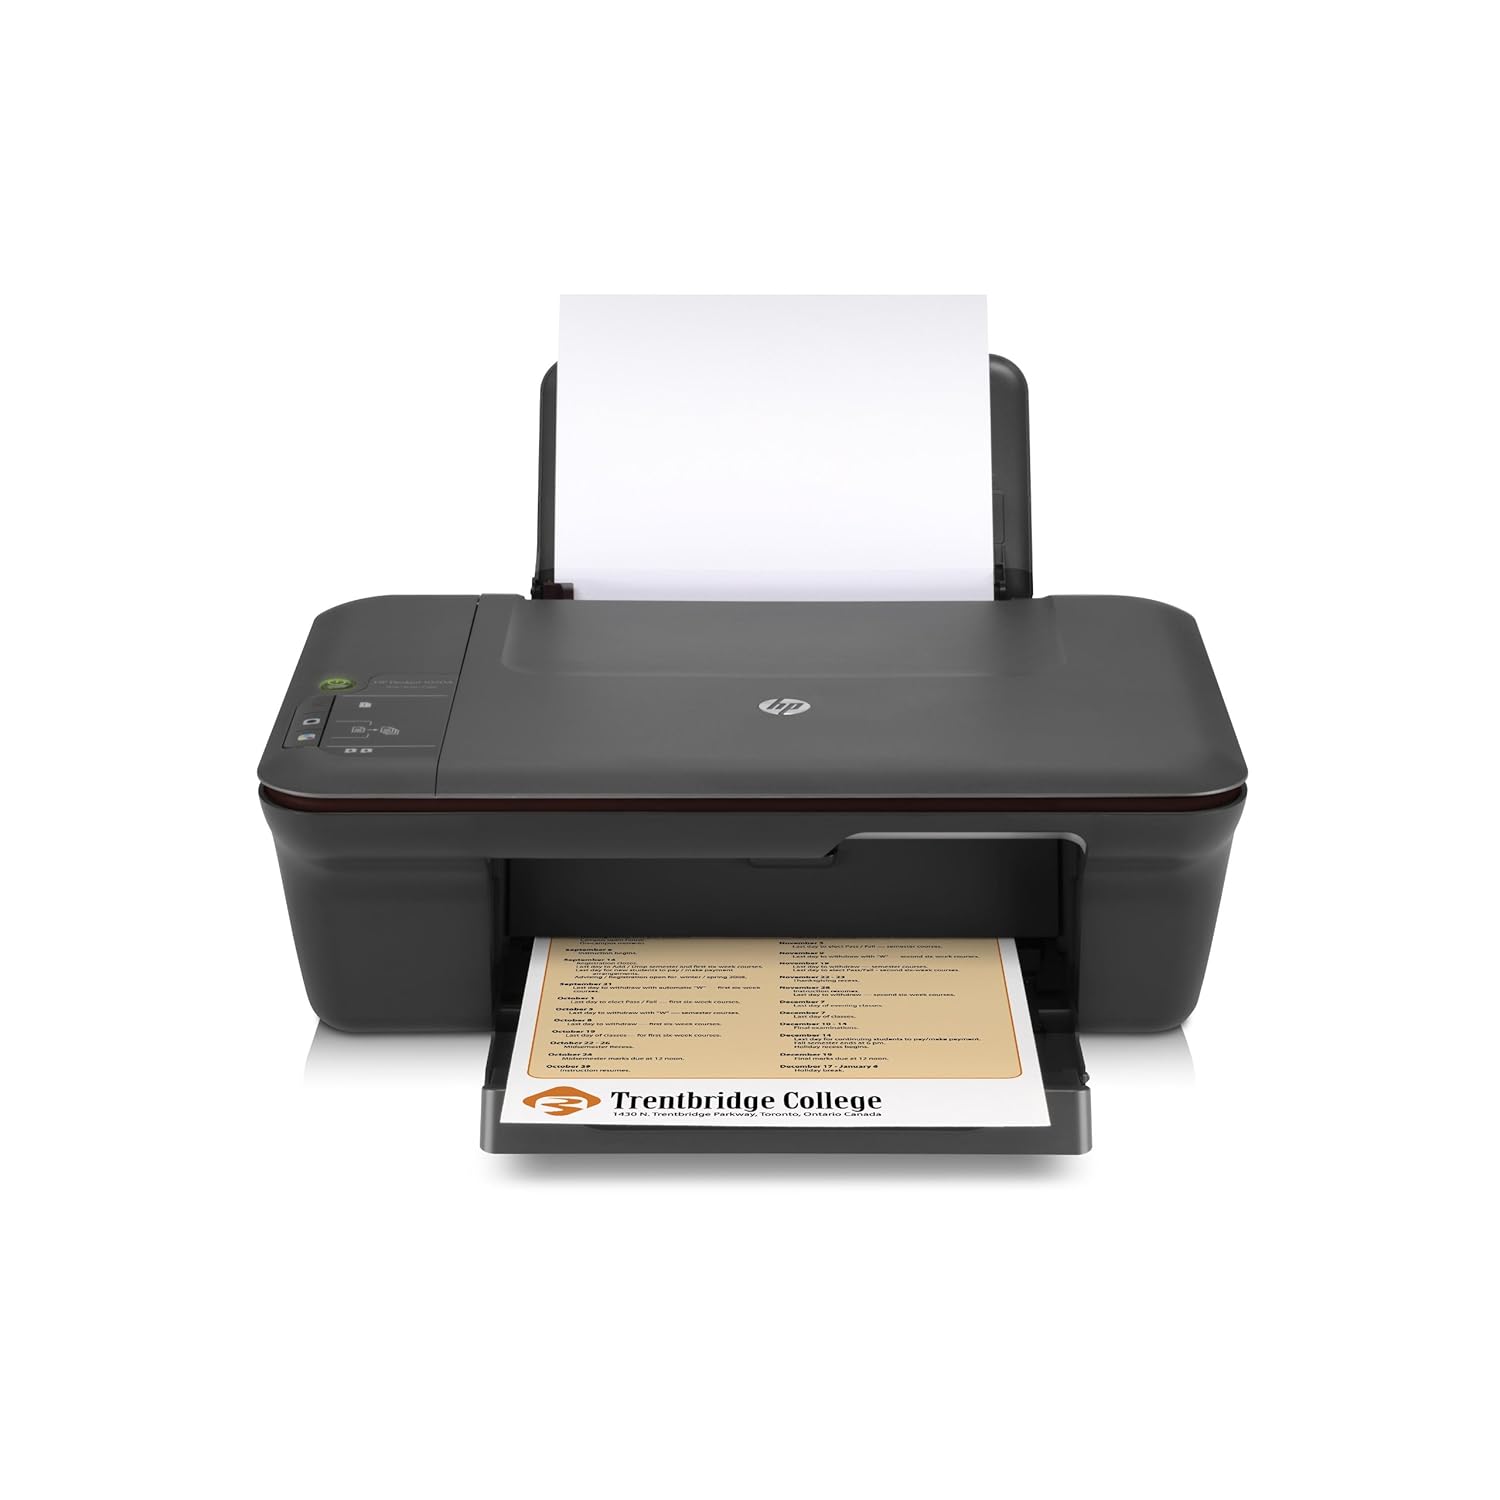
3. What printer do I need?I use a HP printer where you can load the paper from the top. As long as your printer has the facility to move the page margin on the actual printer tray then it should be fine, but obviously print a tester page before you send 50 pages to print! (This is basically to hold the Filofax paper in place so it doesn't go on the wonk when it feeds down to print.)
4. Overcoming the kerfuffle of 'which way does the paper go in??'Ok, this may be hard to explain in words but I'll give it a go...
On this image of a diary page you can see the left hand page has holes on the right side, and the right hand page has holes on the left. Basically you need to make sure that your weekly outlook is laid out like this (unless you prefer a different layout!)
So, for instance, if you want a full week on your left page and a task list on your right, on teh back of the December page would be the task list for the week before, and on the back of the January page would be the following full week. I'm so sorry if you don't get this, I'm trying really hard to explain!

So, my printer (shown above) means I have to put the paper in upside down, as the top of the page prints first. You can figure this out quite easily using a sheet of A4 scrap paper. Just doodle some holes on one edge of the paper (like a giant Filofax page) to test how your printer prints.
Then when you want to print on the other side of the page you just printed on, make sure it still prints head first with the holes on the correct side. It does involve some concentration but the results are great.
So, we're all done here! And if you want some lovely new diary pages please have a look at my next post....
1 comment:
In fact no matter if someone doesn't know afterward its up to other viewers that they will help, so here it occurs.
Review my weblog - Louis Vuitton Handbags
Post a Comment